
It’s often typical when dealing with enormous datasets that you’ll need to eliminate just particular rows. Finding and deleting them might be a daunting task due to the sheer volume of data that must be combed through. In our day-to-day use of Excel, deleting specific rows is a typical occurrence.
Table of Contents
Methods of Removing Specific Rows in Excel
Using Excel, you may delete particular rows from a spreadsheet by taking these guidelines.
Method-1: Excel’s Home Ribbon
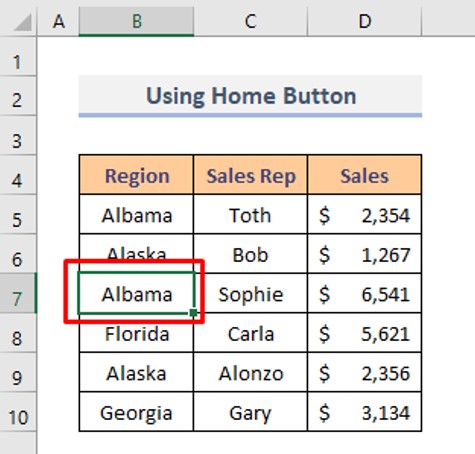
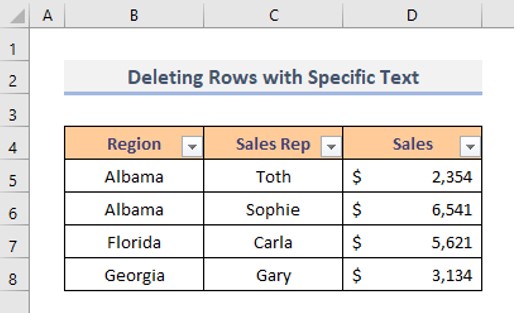
Let us first become acquainted with our workbook. Using three columns and seven rows, we’ve shown various Sales Representatives and the revenue they generate throughout various locations. This time, we’ll use the Home tab to eliminate specific cells.
Any cell in the row that you prefer to remove may be selected.
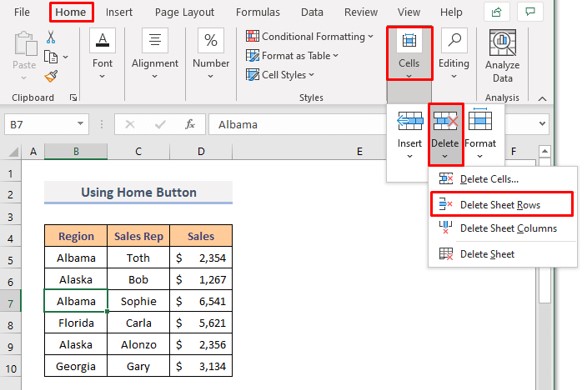
Cells may be found under the heading Home. Select Delete and afterwards Delete Sheet Rows from the available choices.
You’ll see that the chosen row has been removed.

Method-2: Utilizing Excel’s Context Menu Choice
In this case, we’ll utilize the mouse to open the Context Menu. Click the row number which you wish to get rid of.

Then utilize the mouse’s right-click option to make your selections. Choose Delete from the submenu.

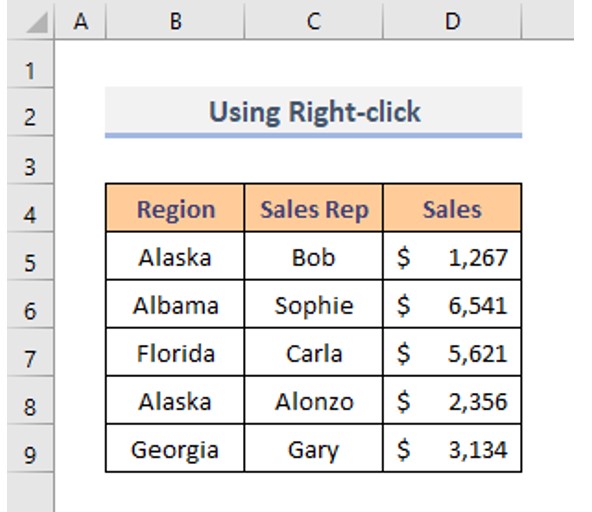
Looks like the chosen row in your Excel spreadsheet has been removed.
Method-3: Remove Text from Specific Rows
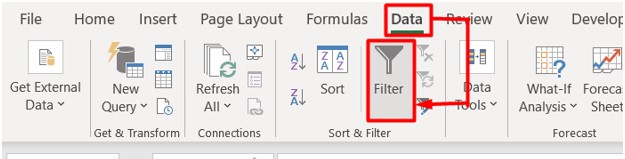
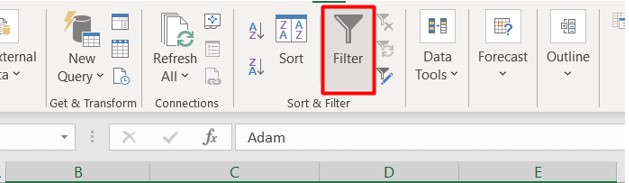
We’ll now perform the procedure in a different manner. Using a region name as a filter, we’ll get rid of the rows shown below. Take a look at the instructions. Any cell in the spreadsheet may be selected. Next choose Data and then Filter. The Filter option will then show in each column’s heading.

Use the Filter menu item in the Region heading to narrow your search results. There will be a pop-up dialog pane. Afterwards, choose the area you desire to remove. “Alaska” has been our choice. Press the “OK” box.

As a result, the database will only display information for the state of Alaska going forward.
Pick the rows, right-click, and then choose Delete Row to eliminate them.

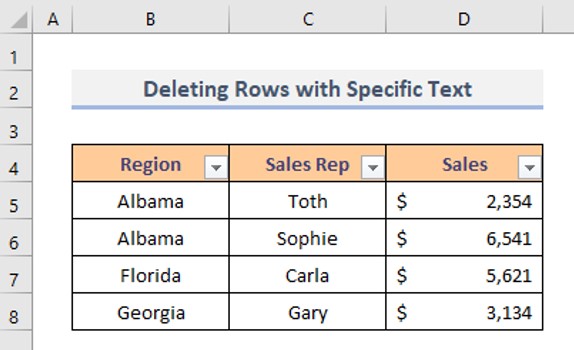
The rows have been removed.

Next, tap on the Filter box in the Region heading once again to narrow down your results. Mark Select All from the view menu. Tap the OK button.

The remaining rows will be returned to you all at once.
Method-4: Numeric Condition Delete Rows in Excel
In most circumstances, you’ll be better off utilizing the filter approach above rather than sorting to remove rows depending on their values. In order to eliminate just the cells containing the values, this sorting procedure is advised.
The Filter button may be found in the Sales headline field, which is populated with numerical data. To erase a number, mark it.

This number has been applied to the data table’s filter.

Choose the rows. Then choose Delete Row by right-clicking your mouse.

Method-5: Sorting the Dataset, then Remove Rows in Excel
We’ll begin by sorting the data and then deleting certain rows. Any data unit may be selected. Next click Data, followed by Sort. A window will open.
Begin by sorting Region. In the Sort by field, choose Region. Choose Sort on Cell Values. Choose A-Z for the Sequence. Hit OK. The areas are now alphabetized. Remove the Alaska region from this list.
Choose the rows with ‘Alaska’ in them. Afterwards right-click and choose Delete.
Method of Removing Filtered Rows
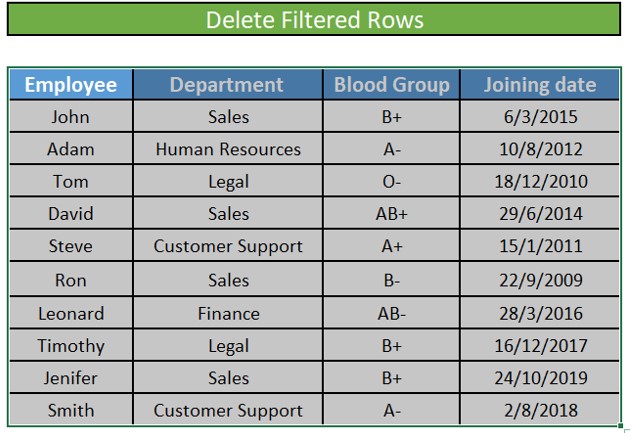
Filtering might help you choose which rows you want to preserve or delete. The procedure for removing filtered rows in Excel is outlined below. We’ll begin by selecting the entire worksheet data range.
Underneath the ‘Sort and Filter’ area of the Data pane, tap on the Filter option.
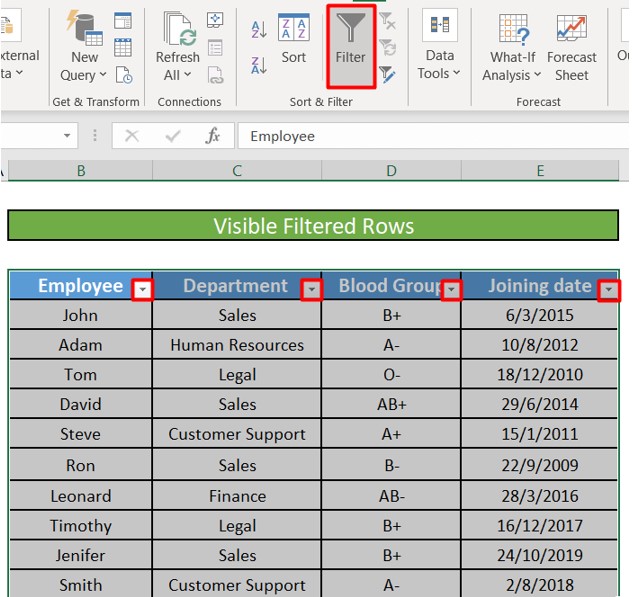
Towards the right-hand side of each heading column, you’ll find a little down arrow. Using the little arrows, you may implement a Filter to a specific column in your database. You may apply a Filter by clicking on an arrow in that column’s header.
When dealing with this scenario, we simply want to remove the rows that include data concerning sales personnel. Hit the drop-down button in the lower edge of the Department Heading. The Department column may be filtered via a popup box.
The Sales Department is the only one that should be checked. It’s easy to remove all of the departments by unticking the Select All option, and then checking or unchecking just the sales department box in the list that appears. Select “OK” to accept the changes.

After choosing OK, you’ll be able to view the details of the personnel in the Sales department.

Right-click on every filtered row in sight and choose all. Select Delete Row from the menu.

Caution pop-up boxes will display and question whether you wish to remove the whole row. Choose the “OK” box.

Rows containing details on Sales department workers will be deleted as a result of this filter. However, fear not!! Existing concealed rows will not be impacted by this action. To access the remaining data, just tap on the Filter option from the Data Section.
Conclusion
If you know how to remove specific rows in Excel, you’ll have no problem arranging, sorting, and deleting specific information from a huge data collection. You may use the methods outlined above to delete certain items from your database without impacting the rest of your material.