
Page numbering is essential for documents like a thesis, research papers, Lab sheets, books, etc. You have to know the way of page numbering to do all that stuff accurately. The insertion of page numbering in the header and footer described other problematic issues regarding page numbering. Read the full article on How to fix page numbers in Word and learn about the staff.
How to insert page number in Word from a specific page
The page number can automatically be used to number each page on your document. They come in a wide range of number formats and can even be customized to meet your needs. Page numbers are usually placed in your document’s header and footer sections.
Step 1:
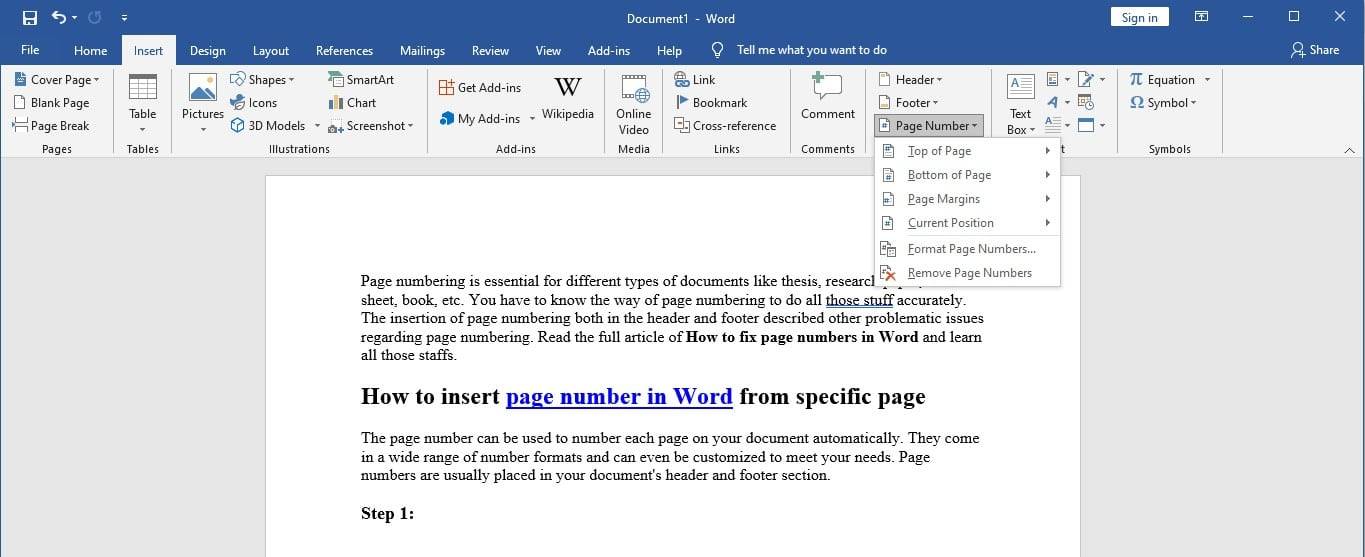
Navigate the insert tab, then click the page number button. You will find a few different options designed to help you with different types of documents.
Step 2:
To add page numbers to an existing header, use “Top of the page” for the footer and “Bottom of the page” for a specific position in a document using the “current position” command. Otherwise, choose one of the three options to create word page numbers from scratch. For example, we are choosing the “Top of the page” option here.

Step 3:
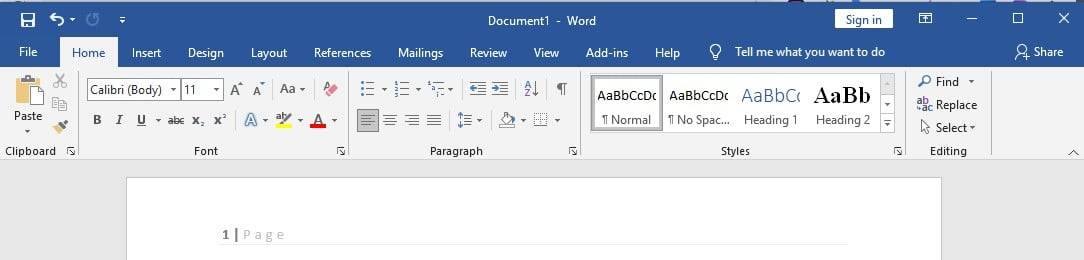
No matter what you select, Word gives you several different numbering styles to choose from. All you have to do is click the one you want. It will be added to your document.
However, your documents may be separate sections where you would like to start your numbering. There is a way to do this. You can even apply different styles to each area. All you have to do is insert a section break first. You can read a similar article on how to remove headings in Word.
In this example, let’s say we want to restart numbering on page 1 on page 27.
Step 1:
First, place your cursor at the beginning of the section and then go to the layout tab.
Step 2:
Click the breaks button. You will see a few different types of section breaks. But the one we want is the “Next page.” Now, we can adjust our page numbering by following the steps.

Step 3:
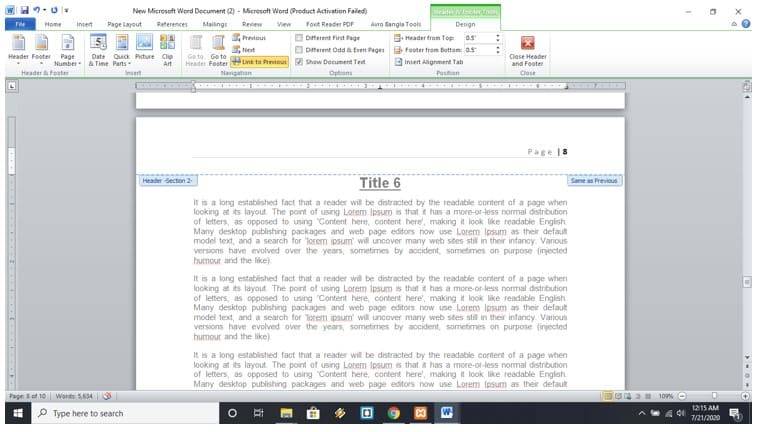
First, double-click the header of the footer to unlock it.
Step 4:
Then click the page number command and choose format page numbers from the menu. A dialogue box will appear where you can change your number format and add chapter numbers to your page.
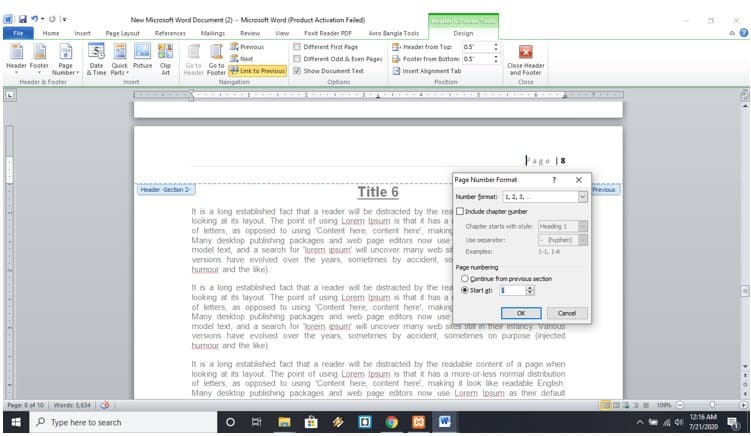
Step 5:
However, to restart your numbering, you only have to select the field that says start. By default, Word will set it to continue at 1. But you can enter any number here. When it is done, click the OK button. You will see the changes in your documents.
Page numbers in Word are not working
One of the reasons that page number does not work is -users don’t insert a page field. You have to insert a PAGE field by any of the steps written below,
- Select the insertion point in the header or footer and press the ALT+SHIFT+P buttons together. And complete the requirements.
- With the insertion point in the footer or header, select the Page Number dropdown, then click on the current position. Choose the Plain Number option.
- Inserts a footer building block from the gallery, which will be overwritten with the previous footer.
Resetting Word Page Numbers with Section Breaks
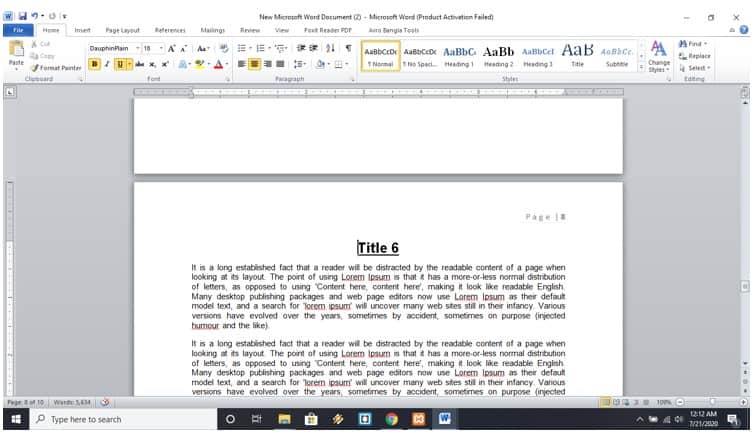
Sometimes it may occur that you added a page number manually. But because of different sections in the header and footer, page numbers may appear different and not continuous. So in this situation, what can you do?
Step 1:
Click the Insert tab in the top menu bar then click on the “Page Number” dropdown.
Step 2:
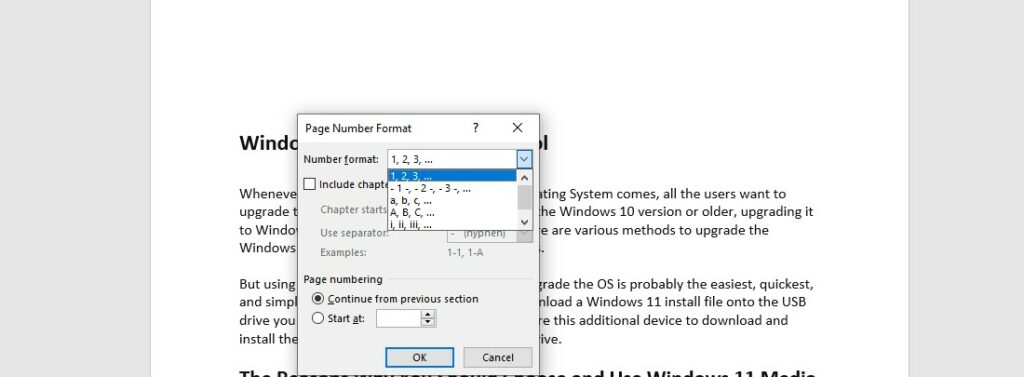
Click on “Format Page Number.” A dialogue box will appear. Click on the “Continue with previous” section. Click the “OK” button.
Now your problem is solved. Page number will continue according to a section break.
Page numbers in the footer are not sequential
Page numbers in footer are not sequential
First, let’s talk about how to set page numbering in the footer. To do that-
- Click on the Insert tab on the menu bar.
- Then click on “Page number.”
- Select “Bottom of page” then choose a numbering style.
Sometimes you may want to move some pages to another document. In that situation, a messed up situation emerges. You will find footer page numbering is not sequential. So what is the solution?
- As per the previous click on the Insert tab from the menu bar.
- Click on “Page Number” dropdown. Select “Format Page Numbers.” A dialogue box will appear.
- Choose the “Continue from previous section” radio button. Keep on doing that on each section page.
- You will find that your whole document footer page number is sequential.
Solutions regarding page numbering are close to each other. We hope this article may help you design and use page numbering in your official documents. Thanks for reading.
FAQs
Q: How do I insert page numbers in Word?
1. Click on the “Insert” tab in the top menu bar.
2. Click on the “Page Number” button in the “Header & Footer” section.
3. Choose the location where you want the page number to appear, such as at the top or bottom of the page.
4. Select the desired page number format, such as Arabic numerals (1, 2, 3) or Roman numerals (I, II, III).
5. If needed, format the page numbers further by adjusting font size, color, or style.
Q: How do I restart page numbering in Word?
1. Click on the page where you want to start the new page numbering sequence.
2. Click on the “Page Layout” tab in the top menu bar.
3. Click on the “Breaks” button in the “Page Setup” section.
4. Select “Next Page” under “Section Breaks”.
5. Double-click on the header or footer area of the new section.
6. Click on the “Page Number” button in the “Header & Footer” section.
7. Choose the desired page numbering format for the new section.
8. If needed, format the page numbers further by adjusting font size, color, or style.
Wrap Up
Fixing page numbers in Word can be a simple process with just a few clicks. Whether you need to add or remove page numbers, change the format or position them, or restart numbering on certain pages, Word provides several built-in tools and features to accomplish these tasks.
By following the step-by-step guide outlined in this article, you can easily adjust your page numbers to fit your specific document needs. Remember to preview your changes and save your document before finalizing your page numbering. With a little bit of practice and experimentation, you can become proficient in managing page numbers in Word and create polished, professional-looking documents.